Hi everyone!
I hope today finds you with a low stress level. I know my stress levels have been soaring over the last week, but now most of my Christmas chores are done, so things are getting better. 🙂
I’ve been busy for the last week or so making some little Christmas goodies for my son Steve’s 5th grade class. I like to do this for him and he says the kids love what I send, so I’m happy to supply some fun little gifts for his students.
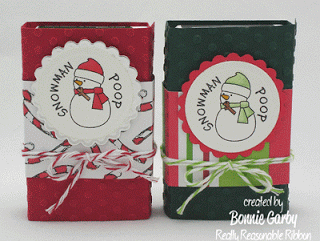
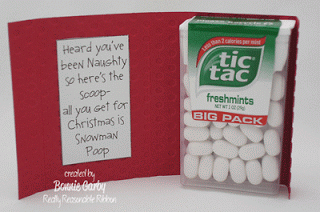
Last year I made the class some little packs of Snowman Poop (made with white tic tacs) and they loved them. Here is a photo of what I did last year. Notice I couldn’t resist using a little Baker’s Twine from Really Reasonable Ribbon on them. 🙂
This design actually comes from Whimsie Doodles and it’s in their freebie section. What a cute and easy little craft. I encourage you to head over and pick up the file if you have not already done so. There is even a video tutorial for making them. Even if you don’t have time this year, you’ll be ready to roll for next year. Take a look at the great digi images Melyssa offers while you are there. I love her style and she offers so many freebies and tutorials.
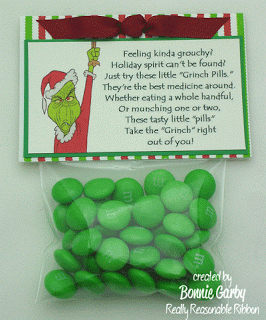
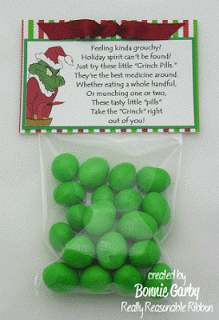
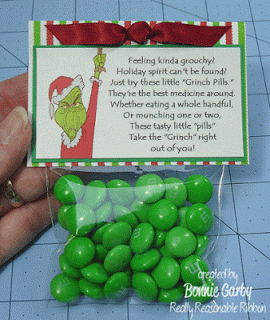
So, this year I wanted to do something different. Pinterest is a great place to find ideas and I found several different ‘Grinch Pills’ options. I really wanted to do one with green tic tacs, but I could not find value packs of green tic tacs, so I had to go with m & m’s.
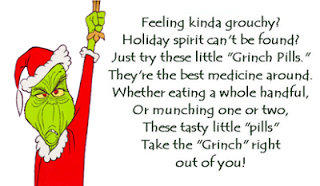
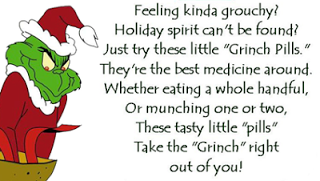
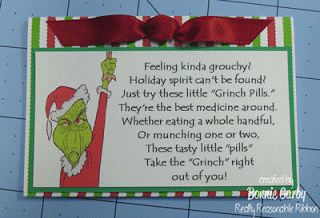
Isn’t that adorable? Sadly I could not find any free files for the photo and poem printout for this type of favor in the right size and shape, but I was able to use the poem and a Grinch cartoon image I found online and merge them together to get what I wanted. It was a bit of a chore because I’m not a wiz on photoshop elements by any stretch of the imagination, but I got it done.
Hopefully you will be able to save the image below and use it for your own projects.
I have also included a quick tutorial below.
I used this Grinch image because it’s one of our favorite scenes in the movie.
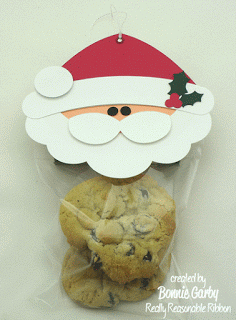
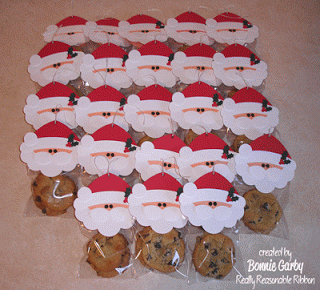
I’m also sending a little Santa topped cookie pack for each child.
Isn’t it cute!
When the cookies are gone, Santa can become a Christmas decoration. It doesn’t show too well in the photo, but I put a red eyelet at the top of Santa’s hat and looped some White Iridescent Metallic String through for a hanger. To make this I used my Silhouette Cameo and a file called Santa Treat Topper. I
re-sized it for my needs and cut the pieces out and assembled them.
Seriously ladies, if you don’t already own this machine, it should be on your Christmas list. This is my favorite ‘big-girl toy’!!
~~~~~~~~~~~~~~~~~~~~
Grinch Pills Tutorial
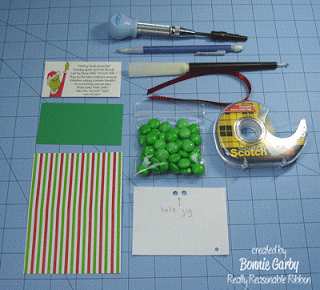
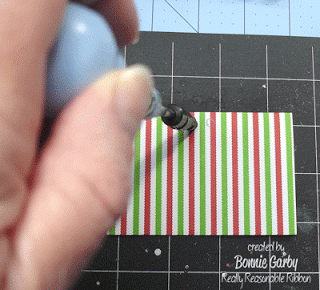
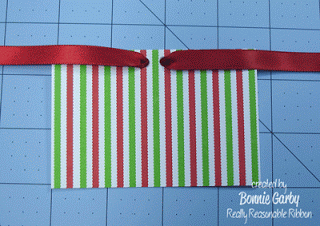
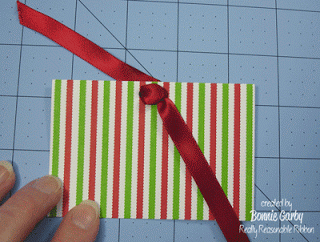
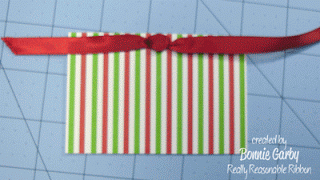
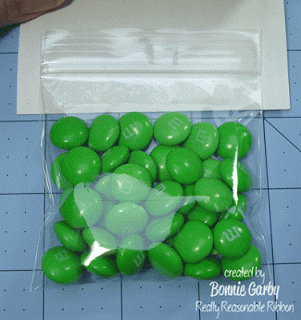
Supplies are shown below. I printed the Grinch Pills image and poem above and cut it out at 1 7/8″ x 3-1/2″. The green card stock is cut at 2″ x 3-5/8″ and the stripe card stock is cut at 3-3/4″ x 5″.
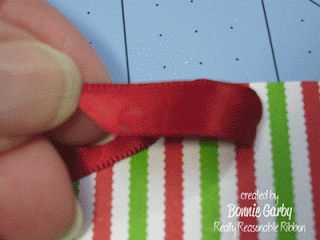
I used 3 x 3″ zip loc bags for my green m & m’s and the ribbon topper is a 10″ piece of scarlet red double-faced satin from Really Reasonable Ribbon.
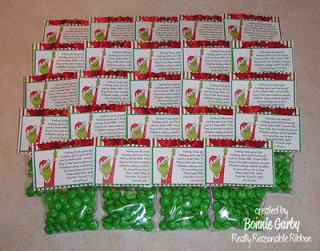
Here is a photo of all the ones I made – 23 in all (okay, well, 24 Grinch pill packs and 23 Santas). Right now his class is 20, but I like to send a couple extra just in case. You never know when he’ll get a new student.
Here are some photos of all the goodies ready to ship off.
Fingers crossed that they travel quickly and safely!!
Thanks so much for stopping by and have a wonderful Christmas!
~ Bonnie ~



Thanks for sharing your adorable creations as well as the images and tutorials for making them. I've bookmarked everything because I'm always looking for cute little gift items for teachers and kids at school. My daughter will be in middle school next year so that age kid LOVES the funny things like "snowman poop.!"
Well it looks like you had yourself a fun crafty day : ) Those are too cute…..snowman poop lol. You crazy girl. Thanks for sharing the tutorial : )
huggs Ginny
These are super. Thanks so much for sharing. Lynne from OZ
I’ve been searching for the past two or three hours on here looking for the right dyi Christmas gifts I could make that wasn’t to costly but also that no one has thought of yet, well I found it when I found this!! My mom loves the grinch and snowmen so this is perfect for her and a few others lol!! Love these ideas.
Did you find a bag of green only M&Ms ?
Nope. I got a couple bags of Christmas red/green M&M’s and separated them. Yup, I’m that kind of crazy! 🙂
I found bulk m&m’s at a local party/wedding store. They had every color imaginable.
Good to know. I separated the colors from a Christmas bag. But, then I got to eat the ones I didn’t need. It would have been way easier to just buy a bag with the right color though.
Love the Grinch pills. If you are near a Party City, they sell bags of one colored m&ms!
THANK YOU SO MUCH FOR SHARING!!!!
I MADE THESE FOR A CHRISTMAS PARTY GIFT. EVERYONE LOVED THEM!
YOU SERIOUSLY SAVED ME 🙂
So glad the project worked out for your Christmas party. Fun little giveaways are always a hit! 🙂
Do you have any of the Grinch Pills labels left or already made up
My printer is broken and I can’t just use the diy s
Thank you
Paula Chavis
Hi Paula. I’m afraid I have no pre-made labels as I have never sold them. I would suggest you check etsy as they seem to have people who sell both the digital files and pre-printed toppers that are similar to what you found here. Happy crafting!
Can you share link to find the 3×3 zip lock bags? Such a cute idea!
I made these so long ago, I’m not really sure where I got the bags. It was likely on Ebay, so check there. Happy crafting!
Thanks for sharing this! Great job!
I’m definitely not print savvy. I saved the image but when I print it, it fills the whole page. What am I doing wrong and how can I print multiples?
Thanks for any help with this….
Sue
Hi Sue, Believe it or not, I’m not all that print savvy either using anything other than the programs I have. My favorite is Microsoft publisher. You can also open the photo in word and then adjust the size by pushing in the corners and then cutting and pasting a bunch on to one sheet (using the insert tab and then click picture from the next navigation bar). I’m sure there are free programs you can use for this too. I would check YouTube for tutorials on adjusting the size on printables, or (and I’m not being snarky here – I do this all the time….), find a kid to help. Seriously, they are born knowing how to do this stuff! I wish you luck and I know you can do this!! Happy Thanksgiving! 🙂