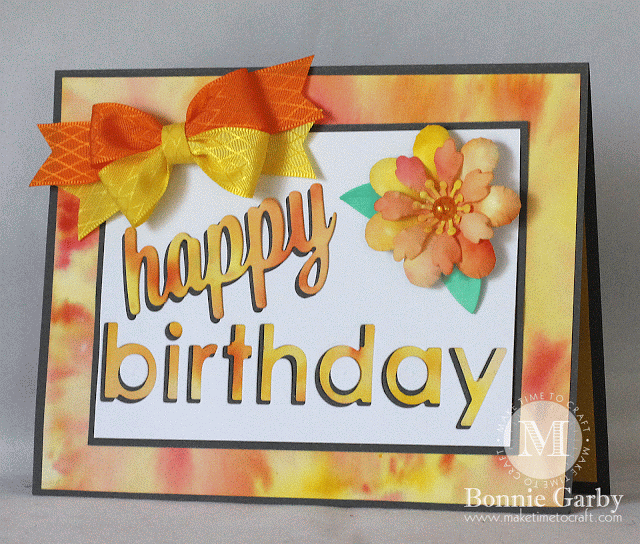
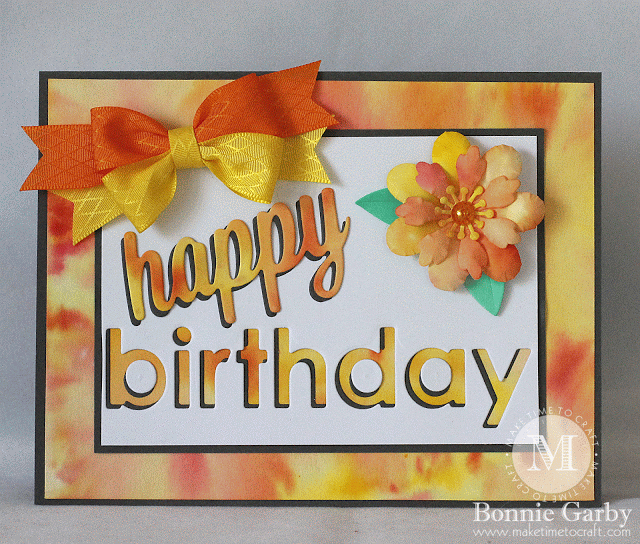
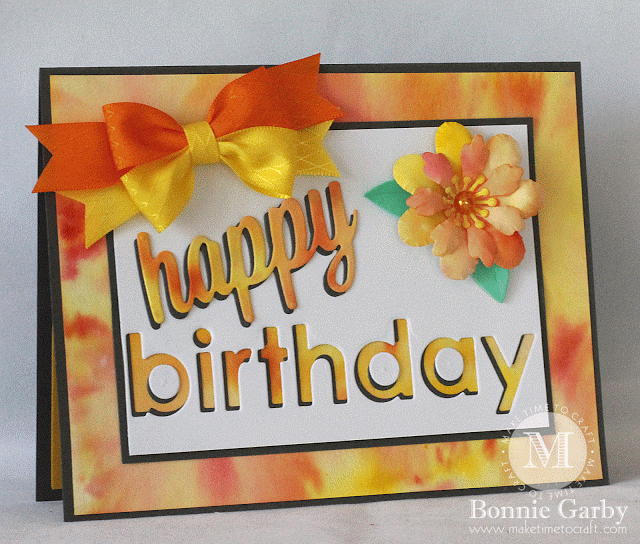
Hi everyone. Today I have another card featuring my new favorite two-toned bow style with gorgeous ribbon from Really Reasonable Ribbon.
I’m in love with two color bows right now. Aren’t they just a show-stopper? They are actually rather easy to create with your Bow-it-All V2.0. I have a tutorial out now for a bi-color double-loop double-layer bow and I will be adding one for this basic bi-color double loop bow using single-faced or printed ribbon in the next week or so. To view all my video tutorials, please visit my YouTube channel HERE.
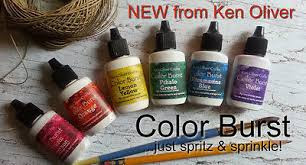
So I pulled out my new Color Burst powders from Ken Oliver Crafts this weekend and got messy. Now please realize, I am NOT a messy crafter. I go to great lengths to keep things as ‘un’-messy as possible. No paints, glitter, sprays, etc in my life (or at least not on a regular basis). I routinely clean up my work area in the middle of a card because I don’t like a mess. Weeelllll, I saw these powders and since I love the tie-dye look so much, I had to get some, and guess what….. I LOVE the papers you can create with these fun powders!!
A couple things I learned:
1) Give yourself a large work area and cover roughly 10 times the area you think you will need with newsprint or scrap paper – those powders can travel baby!!
2) Avoid any type of drafty condition because as I said before – those powders can move baby! No gentle breeze from an open winder, no working under an a/c vent, don’t breath on your work….
3) Moisten your paper (watercolor paper works beautifully), gently tap small amounts of powder around your paper, spritz again and watch in amazement as a beautiful design appears. Apply more powder and additional colors, and repeat until you have the look you want.
4) Begin with two or three colors. It’s easy to get carried away and the end result is always brown for me. I don’t really know color theory, but I think it’s good to stay with colors that are next to each other on the color wheel to avoid brown…
5) Be sure to go all the way to the edges of your paper, especially if you might be using the paper as I did below.
6) Most importantly of all, thoroughly clean your work area when you are done. It’s funny how it can appear that the area is clean of powder, but it takes just a teeny tiny amount of powder to make a lot of really dark color (where you least want it). Even condensation from your water glass can ruin the white card you just spent 14 hours working on if it comes in contact with a speck of left over powder…… <sigh>
7) New addition to my plans for my dream craft studio – a kitchen sink and counter area for messy wet work.
Have you experimented with these fun new powders?
If so, please let me know what you think and if you have any tips or tricks for working with them.
I’m entering my card in the following challenges:
Supplies:
Ribbon – Really Reasonable Ribbon
Dies: My Favorite Things Die-namics Happy Birthday and Prima Donna Petals
Color Burst from Ken Oliver in orange and lemon yellow (and also pthalo green for the flower leaves)
Watercolor Paper
Spray Bottle
Adhesives – Scotch ATG, Designer Dries Clear Glue, E6000



Aren't the Color Bursts fun to work with? I love your background and those colors you chose for the card. Just magnificent in every way!
WOW!! Love the vibrant colors!! Absolutely Awesome!! Beautiful!!
Have a wonderful day,
Migdalia
Crafting With Creative M
Oh, I love this! What a beautiful background and I LOVE that bow! That is awesome. Thanks for sharing it with us at Simply Papercraft, hope to see you again soon!
Jennifer, DT
You had me a two toned bow! This is fab-tastic! Off to watch the video…. 😉
You had me AT…..that should say…..
Love those vibrant color on your card! Thanks for sharing at Crafting from the Heart!
This is gorgeous, I love the design and wonderful sunny colours.
Thank you for taking part in a Gem of a Challenge.
Sue xx
Bonnie this is gorgeous! I love the color scheme!! Thanks for sharing with us over at Incy Wincy Designs Challenge Blog! Hugs, Karen C
Wow, I love this! So bright and colourful. Thank you for playing along with Incy Wincy this week, good luck! Colette – DT
great card! I love the color combo!
Thanks for playing along in the Sister Act Card Challenge.
Hugs,
Natalie
INKognito
I just love this card great background you have created and that bow is fabulous. Thank you for sharing with us at Dragonfly Dreams, hope we see you again soon…
Love and Hugs ~ Lady Anne
Dragonfly Dreams
Anne's Paper Dream's Blog
Lady Anne Milnes-Howard of Glencairn, Caithness Scotland.
This is gorgeous. Such a fab bow and love the details with the colours and flower. Thanks for playing at 613 Avenue Create and good luck. Hope to see you back sunday for a new challenge. Bettina DT Member 613 Avenue Create xx
Beautiful background for a non-messy crafter ;). I'm a bit like yuo, like to see it, like to try it, but… prefer to stay as un-messy as possible. Hehe. Thank you for joining us at 613 Avenue Create this week. Hope to see you back soon.
Cheers,
Aurora
Čudovita, barvita voščilnica. Zelo lepa pentlja.
A great card – thanks for joining us at Craft Your Passion.
Helen x
(GDT)
What a beautiful card!
That two tone bow is so amazing!
I'm a follower now 🙂
Beautiful card Love the the double coloured bow!, thanks for joining us at Artistic Inspirations. Louise DT x