Hi everyone. I’m very excited to announce that I’ve been asked to join the Cheery Lynn Designs team. I’ve been creating with Cheery Lynn Dies for a while now and it was a dream come true to be invited to join these talented ladies!
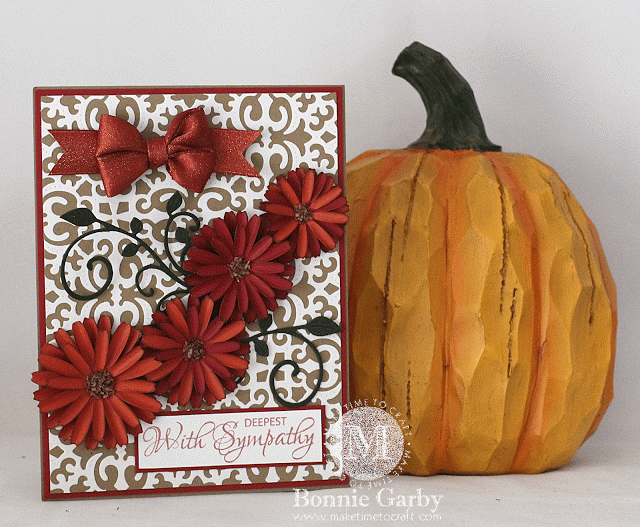
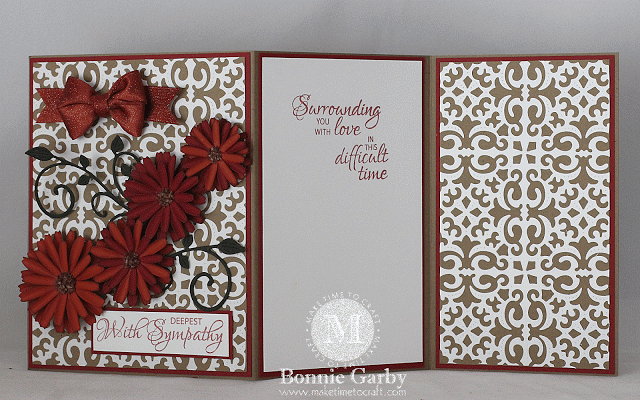
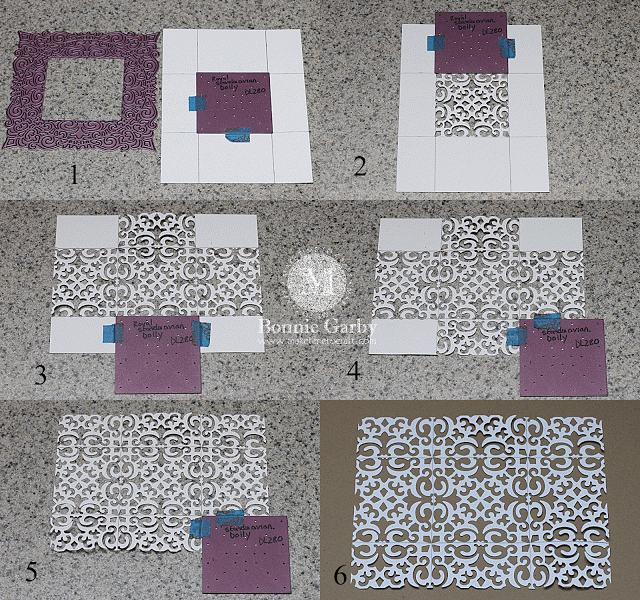
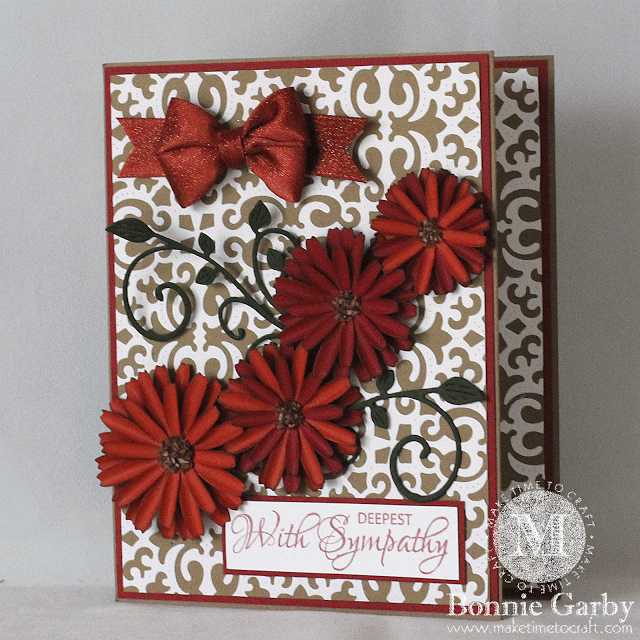
Once you have the whole piece cut you will peel the backing from the Stick It! or apply your adhesive of choice and adhere it to the base. Now that you have stabilized the lacy overlay, you can carefully erase your registration marks. I love the look of the kraft background and the white lacy overlay.
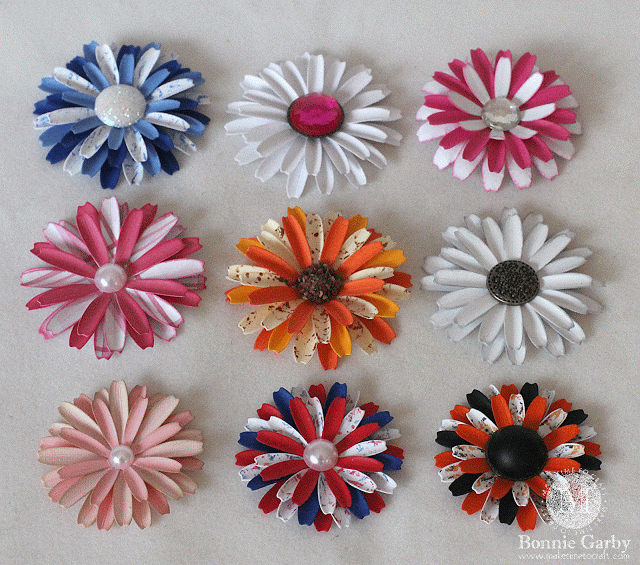
Well I do! The Shasta Daisy flower is a quick and easy flower and by changing the colors, you can make it work for just about any holiday or season.
I hope you enjoy my Shasta Daisy video tutorial below.
If you like my video, please click the YouTube icon in the bottom left of the video and head to YouTube and give me a thumbs up. I’d love for you to subscribe to my channel and leave a comment as well.
Stick It! Adhesive Sheets
Just us Girls #313 – Sympathy
Glitter ‘n Sparkle #157 – Anything Goes
A Gem of a Challenge #145 – Autumn
Fussy and Fancy #149 – Autumn Colors
Jo’s Scrap Shack FFC #108 – Anything Goes
Simply Create Too #95 – Autumn Splendor
Crafting for All Seasons #111 – Autumnal Hues
Crafting by Designs – Anything Goes in October
Crafty Creations #299 – Falling for You
Creative Moments #78 – Anything Goes/Autumn Colors
Inspiration Destination #53 – Anything Goes
Simon Says Stamps – Anything Goes
Ribbon: Really Reasonable Ribbon
Stamps: Just Rite Stampers Caring Thoughts Sentiments
Dies: Cheery Lynn Designs (listed above)
Ink: Versafine Crimson Red
White Cardstock: Gina K Pure Luxury 80lb layering weight; colors Recollections
Adhesive: Stick it!, Scotch ATG, Designer Dries Clear Glue, E6000
Bow-it-All V2.0
Zutter Tool-it-All 9 in 1 Tool
Other: Judikins Speckles Espresso




Such an elegant design, Bonnie! Love your step-by-step, too, thanks! So glad you shared this with us at the Simon Says Stamp Wednesday challenge!
Simply stunning. Love the rich colours. Great fold too. Thanks for sharing your good news and awesome card with us at Just Us Girls this week.
Amazing this card is so fantastic.
Thanks for playing with us at Inspiration Destination.
Good luck. xxx Michelle (DT)
Hi Bonnie, this is a stunning card! Love all the detail you put into it! Thanks for joining us at Just Us Girls!
This is so pretty! Love the flowers!!
Very pretty!! Love your row of shasta daisies in the rich colors along with all of the other details! Thanks for playing along with us at Just Us Girls!
Lovely card, thanks for sharing with Crafting for All Seasons!
Absolutely a stunner! Love those gorgeous flowers and the amazing background! WOW! So glad you joined us over at Just Us Girls for word week!
Stunning card, beautiful words, thanks for sharing at Glitter n Sparkle Chris DT x
Simply beautiful. I love the overall card design-inside and out, the flowers were gorgeous, well done! Thank you for sharing with us at Simply Create Too – Myrna DT
Wow! What a gorgeous card! I love the way you used you dies to create such a wonderful lacy paper! It looks very elegant! And color combo you chose is just great! Thank you very much for playing with us at Fussy and Fancy Friday Challenge and sharing this beauty! Good luck and hope to see you again soon.
Sasha
A beautiful bight and classic card with perfect use of die cuts that shouts autumn. Thanks for joining in with our 'Autumn Colours ' challenge at Fussy and Fancy this week, and good luck.
Eileen x