Welcome to the RRR October Blog Hop.
If you arrived here from the Really Reasonable Ribbon’s Ramblings Blog, you are on the right track. If not, why not head back to the RRR Blog and start from the beginning so you don’t miss any of the terrific projects.
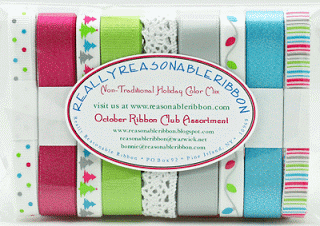

This month the Really Reasonable Ribbon Monthly Ribbon Club Assortment is a fun ‘non-traditonal’ Christmas mix. I just love all the pretty bright colors. Isn’t it fabulous??!
I started with a card……
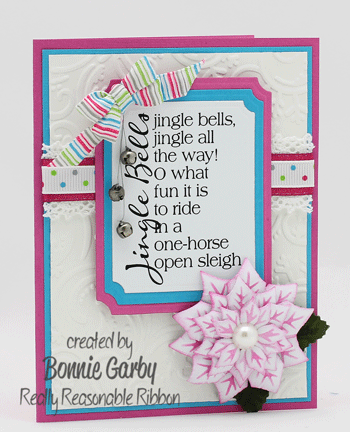
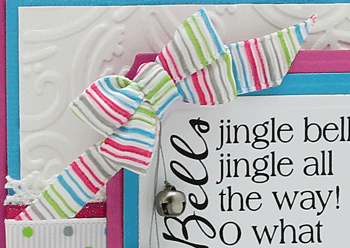
Here is a close-up of my little bow. I made the bow on my Bow it All Tool. If you missed my first tutorial on the Bow it All, you can find it HERE.
I’ll be back with another video explaining how I handle ribbon with a print on one side soon.
And here is a close-up of my poinsettia. I just got this new die from Spellbinders and I love it!

My headband is made with one 3/8″ ribbon and one 5/8″ ribbon width. How did I handle that? I just folded a third of the 5/8″ ribbon under and used it that way. 🙂 Your starting lineup for this would be two confetti dots ribbons on the left side and on the right side of the x you will have the azalea ribbon on the top and confetti dots on the bottom. You can find a tutorial for the basic Woven Ribbon Headband HERE.

Here is a couple of sets of clippies I made.

Thanks so much for stopping by today.
~ Bonnie ~
Supplies Used:
Ribbon – Really Reasonable Ribbon October Ribbon Club Assortment
Stamps – Digital Stamp from TLC Creations
Paper – Core’dinations
Embossing Folder – Spellbinder
Other – Spellbinders Small and Large Labels, Layered Poinsettia
Ink – Ranger Distress Ink Picked Raspberry
Scor-Tape
small jingle bells and a large half pearl

Great card and I love those hair clips!
What a pretty pretty card…and I love non-traditional colors, especially pink at the holidays. This ribbon is beautiful, too! Great card! –Gail
Look at these projects! I love them. I cannot wait to see what the team has made. My ribbon is here….waiting….